CUTTING & SURFACE PREPARATION
SAW BLADE SIZES AND ARBOR HOLES
Blade diameter is only one of the measurements needed for a fit.
7 MIN READ
IN THIS GUIDE
THE DIMENSIONS THAT MUST MATCH THE SAW
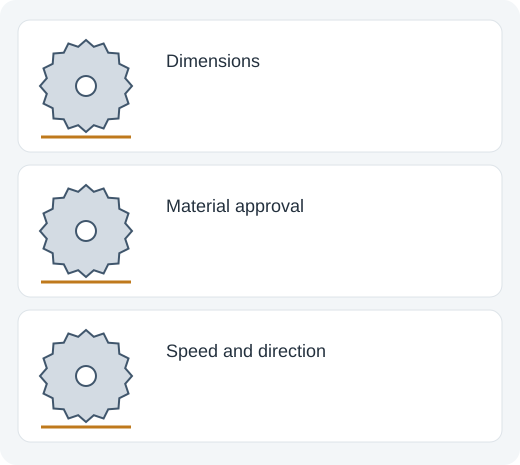
A circular blade must match the saw’s permitted outside diameter, arbor interface, thickness or kerf constraints and speed rating. It also needs the correct cutting direction and intended material. A blade that physically fits the arbor can still be unsuitable.
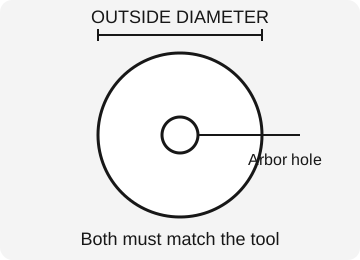
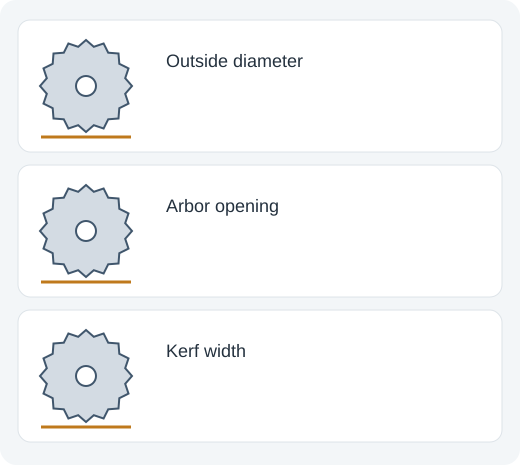
Outside diameter controls reach and clearance. The center bore fits the arbor; some interfaces use a particular shape or approved insert arrangement. Do not improvise a reducer or alter the arbor to fit a blade unless the saw and blade instructions allow the exact arrangement.
Read the saw manual and the blade marking together. A product title that says “7-1/4 inch” tells you the diameter but not all of these other requirements.
DIAMETER AND ARBOR HOLES
Common nominal blade diameters are usually identified in inches or millimeters. Near conversions do not automatically establish compatibility. Guard clearance, depth adjustment and approved blade range must all work with the saw.
The arbor bore needs the specified fit. A bore that is too large may not center correctly; one that is too small cannot seat. A washer or clamp cannot be assumed to compensate for the wrong bore geometry.
Some blades have a removable diamond knockout or other particular arbor arrangement. Use it only as the blade and saw instructions require. Removing material from a center hole is not a general solution for a mismatched blade.
KERF AND PLATE THICKNESS
Kerf is the width of material removed by the cut. The blade plate can be thinner than the kerf because teeth extend beyond it. Thin-kerf blades may reduce cutting load in suitable applications, but have their own stiffness and compatibility considerations.
On saws with a riving knife, the blade kerf and plate thickness must match the permitted relationship with the knife. An incompatible knife or blade can create binding or inadequate separation of the cut. Follow the saw’s stated dimensions rather than guessing from “thin kerf.”
Kerf also affects layout. Cutting on the wrong side of a marked line removes material from the finished part. Choose the waste side and account for the actual cut width when accuracy matters.
TOOTH COUNT AND GEOMETRY
Lower tooth counts often suit faster rough cutting in appropriate wood applications. Higher counts can improve finish for suitable crosscuts and sheet goods, but cutting speed, material, geometry and saw power also matter. More teeth is not a universal upgrade.
Rip, crosscut, combination, laminate and nonferrous-metal blades use different tooth forms, rake angles and design priorities. Select by the manufacturer’s intended material and operation, not only tooth count.
A fine wood blade is not automatically safe for cutting steel, masonry or every plastic. Appropriate metal-cutting saws and blades have their own ratings, operating speed and workholding requirements. Abrasive wheels are a separate accessory family, not simply toothed blades without teeth.
SPEED RATING AND DIRECTION
A blade’s maximum speed rating must suit the saw’s operating speed. Never use an accessory with a lower permitted speed than the tool can reach. Battery voltage or blade diameter alone does not determine actual RPM.
Install the blade in the rotation direction specified by the saw and blade markings. Teeth point differently depending on the saw’s viewing orientation, so do not decide direction from a generic photo. Disconnect power before installation and use the supplied or specified clamping parts.
Inspect for cracks, missing teeth, distortion and contamination. A damaged or incorrectly clamped blade can vibrate or fail. Stop if a newly installed blade shows unusual runout or sound rather than continuing to test it under load.
CIRCULAR, TRACK, MITER AND TABLE SAW CONTEXTS
A handheld circular saw needs a supported workpiece and a cutting path that does not pinch the blade. A track saw adds guidance, but its blade still must match the saw, track system and intended material. Splinter-control features do not correct a wrong blade.
A miter saw blade must suit the machine’s operation, guard and cutting action. Tooth geometry and permitted use can differ from a general rip blade. Clamp or support the work as instructed and avoid unsupported small pieces.
A table saw uses fixed blade position with the work moving through the cut. Blade, riving knife, guard and fence setup must work together. Changing blade diameter or kerf can require checking the complete setup, not merely tightening the arbor nut.
DEPTH, SUPPORT AND CLEAN CUTS
Set cutting depth and other adjustments as the saw instructions require. Excessive exposed blade does not automatically improve the cut. Support the material so the offcut does not close the kerf or tip unpredictably.
For a cleaner finish, use the correct blade, suitable feed rate and appropriate support or splinter-control method. A dull blade can burn wood, chip finishes and raise motor load. Forcing it faster can worsen both finish and control.
Before a cut, check for nails, screws and other embedded material. A blade rated for one material is not automatically suitable for hidden fasteners. Disconnect the saw before clearing stuck material or making adjustments near the blade.
BUYING CHECKLIST AND COMMON MISTAKES
Check diameter, bore or arbor format, kerf, plate thickness where relevant, maximum RPM, tooth geometry, material rating and intended saw type. Confirm whether the package is a blade, a set, an abrasive wheel or an accessory.
Do not choose a blade solely because it has the most teeth. Do not use a higher diameter to gain extra depth unless the saw explicitly permits it. Do not assume that a smaller blade is approved merely because it clears the guard.
If cuts burn, wander or vibrate, inspect blade condition, installation, support and feed. If the saw repeatedly overloads, check accessory suitability before blaming the motor. Correct dimensions are necessary, but the whole cutting system determines the result.
CHECKING A BLADE AGAINST THE COMPLETE SAW SYSTEM
Read the saw manual before choosing a blade. Confirm the permitted outside diameter, arbor interface, blade type and speed rating. A blade that can be physically placed on the shaft is not necessarily approved. Guard clearance, depth geometry and the machine’s intended cutting method can exclude an otherwise similar-looking blade.
For a table saw or other system with a riving knife, compare the knife thickness with the blade plate and kerf using the manufacturer’s requirements. A thin-kerf blade can create a mismatch even if diameter and arbor are correct. Do not remove or modify a required safety component merely to accommodate an unapproved blade.
Check rotation direction and tooth orientation when installing. Isolate the machine as instructed, use the specified mounting parts and tighten according to the procedure. An arbitrary washer, homemade reducer or reversed blade is not a legitimate way to solve a fit problem. Confirm that the guard operates correctly before returning the saw to service.
Then verify the application: wood, nonferrous metal, steel, laminate and masonry demand different cutting designs and machine approvals. A blade’s tooth material or color does not establish suitability for every substrate. Where a product has several ratings or application restrictions, read the full marking and instructions rather than just the package front.
BALANCING CUT QUALITY, CUTTING EFFORT AND WORK SUPPORT
A higher tooth count can improve some finish cuts but can also change chip space and cutting effort. Tooth geometry, material, rake angle, kerf and blade condition matter alongside tooth count. Comparing only the number of teeth omits how those teeth cut and how the waste leaves the kerf.
Consider whether the cut is across grain, along grain, through sheet goods or into a specific metal. Use a blade designed for that application. Support the work so the kerf does not close and pinch the blade. Keep hands, clamps and support pieces away from the intended cutting path and follow the saw’s instructions for the required setup.
For clean sheet-material cuts, investigate blade suitability, support at the cut, a permitted scoring method and any splinter-control accessories before assuming that the blade is the only cause. A dull blade, incorrect feed or moving workpiece can spoil a cut even when all dimensions match.
Inspect blades for damaged teeth, cracks, distortion and debris that affects cutting. Cleaning or sharpening must follow a method suitable for the blade and its material. A blade that shows structural damage should not remain in service simply because most teeth still look sharp or the arbor hole still fits.
VISUAL REFERENCE ATLAS
AT A GLANCE
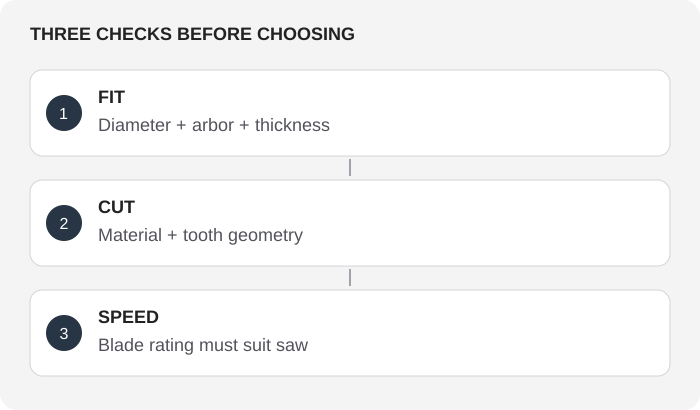
Illustrations explain the principle. They are not actual-size templates or precision fit drawings.
REFERENCES
General reference material. For an exact model, use its manufacturer’s specifications and instructions.
Circular saw