CUTTING & SURFACE PREPARATION
SANDPAPER GRIT AND SANDING PATTERNS
Grit, pad shape, attachment and dust holes are separate choices.
8 MIN READ
IN THIS GUIDE
WHAT GRIT DESCRIBES
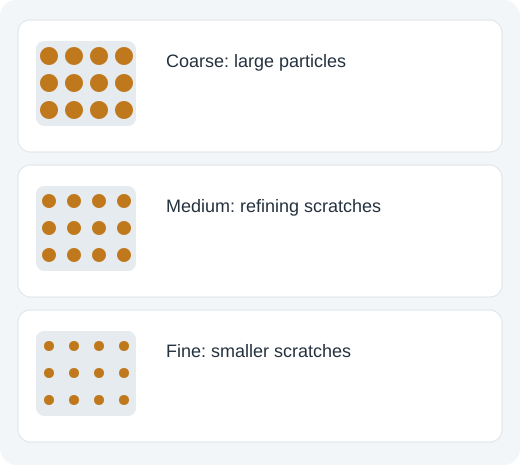
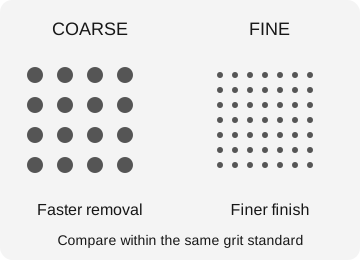
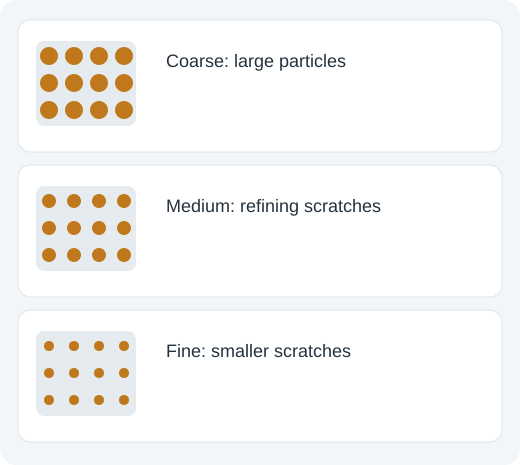
Grit describes the abrasive particle size classification. In a given system, lower numbers generally mean coarser particles and higher numbers finer particles. Coarse abrasive removes material and scratches more aggressively; fine abrasive refines the surface left by earlier steps.
A grit number is not the complete abrasive specification. Particle material, backing, coating density, bonding, flexibility and product form also affect the result. A paper disc and an abrasive mesh with the same grit can behave differently on the same sander.
Start with the surface condition and required finish. Removing a thick coating, leveling wood and preparing between finish coats are different jobs. Choose the least aggressive suitable starting step rather than automatically reaching for the coarsest disc.
FEPA P AND OTHER GRADING SYSTEMS
Coated abrasives commonly use FEPA P designations such as P80 and P180. Other products can use CAMI or additional systems. A plain 400 and P400 should not be assumed identical simply because the number matches, especially as grades become finer.
Read the stated standard when comparing products. For routine work, a consistent abrasive range and progression can make results easier to reproduce. Mixing systems without checking particle size can create an unexpected jump or an ineffective refinement step.
Nonwoven pads and polishing compounds may use colors, grades or product-specific descriptions instead of a directly comparable coated-abrasive grit. A pad described as fine is not automatically equivalent to a particular sandpaper number.
CHOOSING A STARTING POINT AND PROGRESSION
Begin coarse enough to remove the actual defect, but not so coarse that you create unnecessary damage. On wood, deep scratches can require substantial sanding to remove. Thin veneer has limited material thickness and can be sanded through quickly.
Progress through suitable intermediate grits rather than expecting a very fine abrasive to remove severe coarse scratches efficiently. Each stage should remove the previous stage’s scratch pattern. The exact progression depends on material, abrasive and finish instructions.
Inspect under good light and clear dust between stages. A remaining coarse scratch can become more visible after stain or finish. For a critical surface, test the complete process on a representative offcut before treating the final piece.
ABRASIVE MATERIALS
Aluminum oxide is common for wood and many general applications. Silicon carbide is used in suitable fine finishing and certain hard-material or wet-sanding products. Zirconia and ceramic abrasives can suit demanding removal work in appropriate products.
Those categories are not a universal best-to-worst ranking. Particle design, backing and operating conditions matter. Choose the product’s stated material and application rather than assuming a premium abrasive is ideal for every surface.
Use an abrasive intended for the operating speed and tool. A sanding sheet for hand use and a powered disc have different mounting and operating requirements. Check the product rather than adapting any abrasive shape that happens to fit.
TOOL FIT, HOLES AND BACKING
Match disc or sheet size, mounting system and backing-pad design. Hook-and-loop, adhesive-backed and clamped sheets are different mounting formats. A disc that covers the extraction holes poorly can reduce dust collection and clog more quickly.
For multi-hole pads or mesh abrasives, use compatible arrangements. Align holes where required and use any specified interface pad. A soft interface can help contour work but can also change flatness and edge control.
Inspect the backing pad. Damaged hooks, an uneven pad or trapped chips can create marks and poor retention. Disconnect power before fitting or inspecting abrasive products, and follow the tool’s accessory instructions.
RANDOM ORBIT, ORBITAL, BELT AND HAND SANDING
Random-orbit sanders combine rotational and orbital movement, helping reduce a repetitive visible pattern. Ordinary orbital sanders move in a more regular orbit. Neither design eliminates scratches from contamination, worn abrasives or poor technique.
Belt sanders can remove material quickly and require careful control to avoid grooves, rounded edges and uneven surfaces. Detail tools improve access to corners but may concentrate removal in a small area. Choose the tool for the geometry and amount of material to remove.
Hand sanding can provide controlled finishing and direction along wood grain. A suitable block keeps flat surfaces flat. Fingers pressing directly behind paper can create uneven pressure, which may be useful for some contours but poor for a flat panel.
PRESSURE, DUST AND SCRATCH PATTERNS
Use the tool’s weight and appropriate guidance rather than excessive downward pressure. Heavy pressure can slow the pad, increase heat, clog the abrasive and create uneven removal. Replace a worn disc instead of compensating by pressing harder.
Keep the abrasive and work surface free of larger loose particles. A trapped grain or chip can produce a deep scratch that appears inconsistent with the selected grit. Dust extraction helps visibility and loading but must be suitable for the material and tool.
Dust from wood, coatings and other materials can require specific controls. Do not assume every finish or old paint is harmless to sand. Wet sanding is only appropriate when the abrasive, material, electrical tool and procedure permit it.
FINISH-SPECIFIC CHOICES
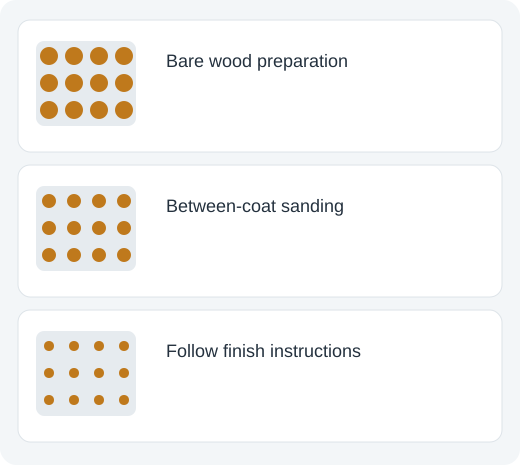
Paint, stain, clear finish, oil and adhesive each have surface-preparation requirements. Extremely fine sanding is not always better: it can change absorption or adhesion. Follow the chosen finish’s preparation instructions rather than pursuing the highest grit number by default.
Between coats, the aim may be to remove small defects and provide the required surface for the next coat, not to reshape the workpiece. Use the specified cure time and abrasive. Sanding an uncured coating can cause smearing and rapid clogging.
For metals, polishing and coating preparation are different outcomes. A shiny surface is not automatically suitable for paint adhesion. Use the finishing system’s required roughness or preparation method.
TROUBLESHOOTING AND A PRACTICAL EXAMPLE
If a disc clogs, check the coating’s cure state, extraction, abrasive type and pressure. If circular marks appear, check contamination, pad condition, speed and technique. If edges become rounded, reconsider support, pad hardness and dwell time.
For a wood panel, identify the defect first, choose a suitable starting grit, sand consistently, inspect after cleaning and progress until the chosen finish’s preparation requirement is met. Test on a similar offcut when appearance matters.
There is no single grit sequence that suits every material and finish. The useful rule is to remove the defect, remove the previous scratches and stop at the surface condition the next process actually needs.
A CONTROLLED PROGRESSION RATHER THAN A FIXED UNIVERSAL SEQUENCE
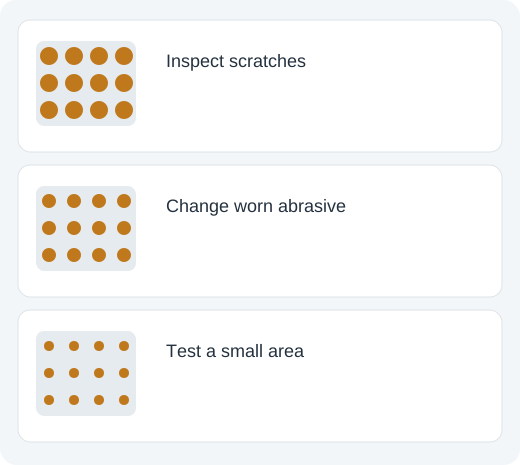
Identify the defect you need to remove: rough milling marks, an old finish, a scratch from previous sanding or a raised surface between coats. Choose the least aggressive abrasive that can remove that defect reasonably. Starting extremely coarse on a nearly finished surface creates new deep scratches that require additional work to remove.
After each stage, remove dust appropriately and inspect the surface under useful lighting. The next finer stage must remove the previous scratch pattern, not merely make its top feel smoother. Sanding for a fixed number of seconds does not guarantee that this has happened. Wood species, finish hardness, tool motion and abrasive condition change the required work.
Progress through a suitable sequence specified for the substrate and finish. Large jumps can leave deeper scratches visible beneath a fine-looking surface. Do not blindly copy one sequence for raw wood, metal preparation and between-coat finishing. A coating manufacturer’s preparation instructions are more useful than a universal list of grit numbers.
Test the full sequence on a representative sample where appearance matters. The final result can change after stain or finish highlights remaining scratches. Stop at a preparation stage appropriate to the finish rather than assuming that polishing to the highest available grit always improves adhesion or appearance.
DIAGNOSING CLOGGING, SWIRL MARKS AND POOR ABRASIVE LIFE
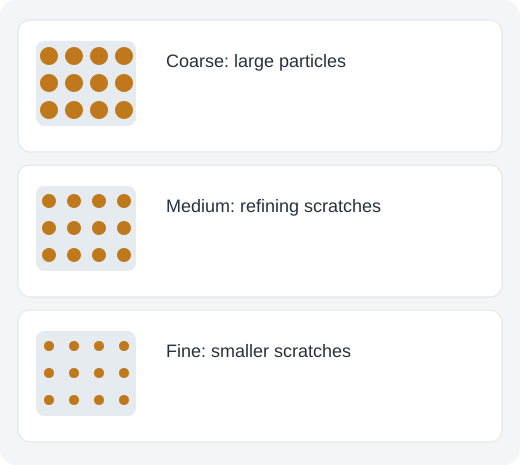
Clogging occurs when removed material fills the abrasive surface or prevents effective cutting. It can increase rubbing and heat while reducing productivity. Match the abrasive type and backing to the task, use appropriate extraction and inspect the disc. A worn or clogged abrasive is not restored to useful cutting condition simply by pressing harder.
On a random-orbit sander, align the extraction holes and keep the backing pad in suitable condition. Excessive pressure can interfere with the intended motion. Debris trapped beneath the pad or a damaged abrasive surface can create concentrated scratches that finer grits then struggle to remove.
Check whether marks follow the tool motion, a trapped particle, an edge or a stationary period. Move and support the tool according to its instructions; avoid lingering on an edge where concentrated removal can alter the shape. Hand sanding with a suitable block can provide different control from a powered pad.
Compare abrasive cost by useful work and finish quality, not just the number of discs. The right material, hole pattern and attachment can outlast a poorly matched inexpensive option. Replace an abrasive that is damaged or no longer cutting effectively, and investigate why it failed before applying the next disc.
VISUAL REFERENCE ATLAS
AT A GLANCE
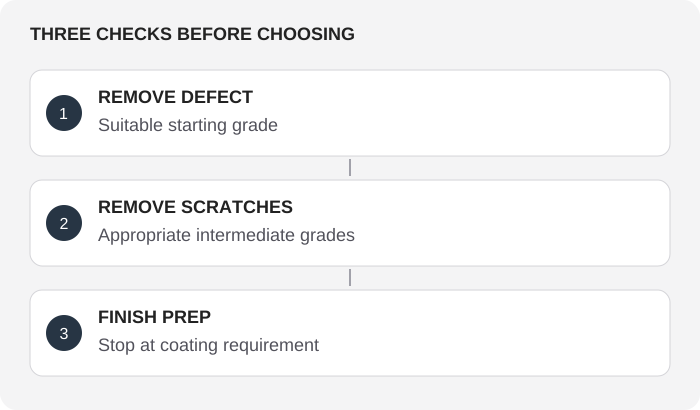
Illustrations explain the principle. They are not actual-size templates or precision fit drawings.
REFERENCES
General reference material. For an exact model, use its manufacturer’s specifications and instructions.
Sandpaper