PLUMBING BASICS
PIPE WRENCHES, CUTTERS AND THREAD TOOLS
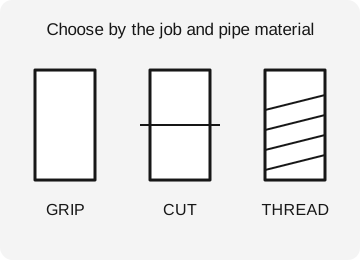
Choose the tool for the pipe material and the type of work.
7 MIN READ
IN THIS GUIDE
IDENTIFY THE PIPE BEFORE CHOOSING THE TOOL
Pipe work starts with material, dimensions, service and joining method. Steel, copper, plastic and multilayer tubing need different cutting and joining systems. A tool that grips or cuts one material can damage another.
Nominal pipe size is often not the actual measured outside diameter. Pipe and tube conventions differ by material and standard. For a fitting or cutting tool, check the applicable size system and actual stated working range.
Water, gas, drainage and other services also have different requirements. Isolate and prepare the system using the appropriate procedure before work. A general tool guide cannot replace the installation rules for a particular service or fitting system.
PIPE WRENCHES
A traditional pipe wrench uses toothed jaws to grip suitable round pipe. The teeth can mark the surface; that is part of why it is not the default choice for polished trim, delicate tubing or ordinary finished hex fasteners.
Set the jaw opening for proper engagement and load the wrench in its intended direction. Jaw condition, handle length and the material being gripped matter. A long handle can generate enough force to crush a thin section or damage a fitting.
Use a suitable backup wrench where required to prevent unwanted rotation of adjoining parts. Do not assume that tightening one fitting while everything else twists is acceptable. The complete assembly needs support and controlled force.
SMOOTH-JAW AND STRAP TOOLS
A smooth-jaw wrench or appropriate plier can be useful on fittings where teeth would damage the finish. The jaw size and geometry still need to match the part. A poor fit can round flats even without teeth.
Strap wrenches grip through a flexible strap and can help on suitable finished or unusual round surfaces. Their capacity depends on strap material, friction, diameter and the product design. They are not unlimited substitutes for toothed pipe wrenches.
Protective sleeves or covers can reduce marks in some situations, but can also change engagement and slip behavior. Use tools and methods intended for the actual fitting rather than improvising a surface protector that defeats the grip.
TUBE AND PIPE CUTTERS
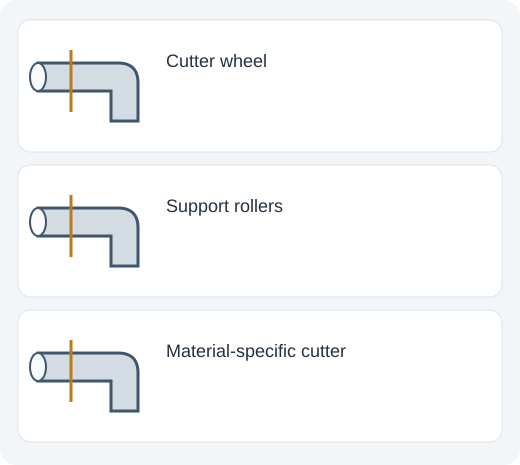
A wheel-type tube cutter rolls a cutting wheel around the tube, usually with progressive adjustment. It can make controlled square cuts in its intended materials and size range. The wheel type must suit the material; one wheel is not universal.
Plastic pipe cutters, shears and ratcheting designs have their own material and diameter limits. Brittle, cold or aged material may behave differently from new tubing. Support the work and use the intended blade and method.
Saws can cut some pipe materials with an appropriate blade, but cut squareness, burrs, contamination and access must still be managed. The fastest cut is not necessarily the best prepared end for the fitting system.
DEBURRING, REAMING AND END PREPARATION
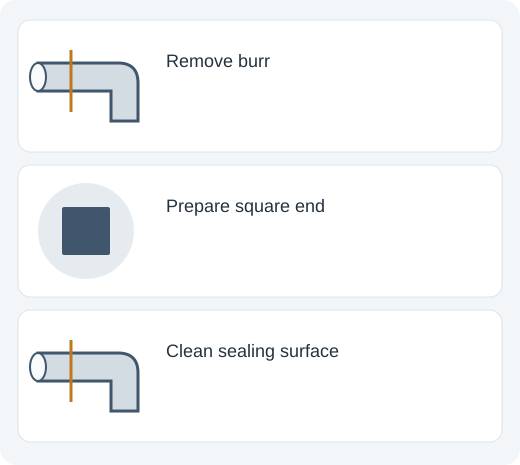
Cutting can leave internal and external burrs. Deburring and reaming remove unwanted edges and restore the opening as the system requires. Excessive reaming can damage the tube or change the intended dimensions.
Some plastic and multilayer systems require chamfering, calibration or other end preparation. A pipe that looks clean can still fail to seat correctly if the prescribed preparation was skipped. Follow the fitting manufacturer’s method and tools.
Keep sealing and joining surfaces clean. Chips, oil and damage can affect joints. Do not use the same preparation assumptions for soldered copper, threaded steel, push-fit, compression and press systems.
THREADING TOOLS
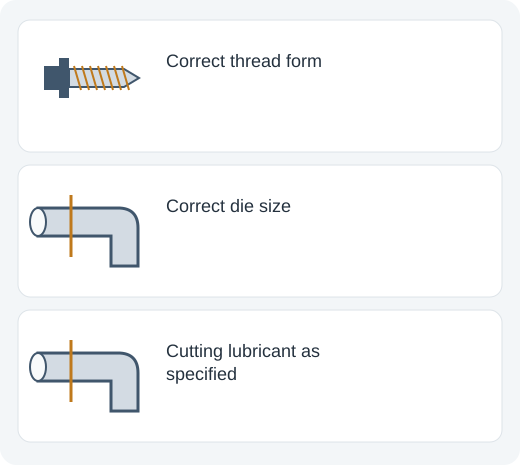
Pipe threading uses dies or die heads designed for the pipe material, diameter and thread form. Tapered and parallel threads serve different systems. NPT, BSPT and BSPP designations are not interchangeable just because the nominal size looks similar.
Select the proper die and cutting arrangement, support the pipe and use the specified cutting fluid and process. Thread depth, taper, form and surface condition affect engagement and sealing.
A thread that can start in a fitting is not proof of compatibility. Mixed thread forms can engage partly and still leak or damage the assembly. Confirm the standard and fitting requirements rather than forcing the connection.
PRESS, CRIMP, EXPANSION AND JOINING SYSTEMS
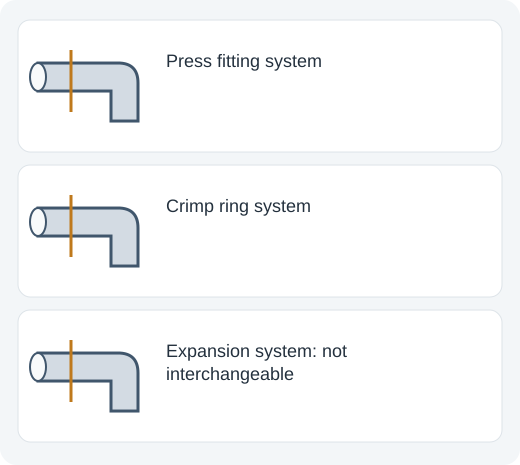
Press tools use matching jaws or rings for a particular fitting profile and system. Nominal tube size alone is not enough to select the jaw. Different press profiles can have different contact geometry and requirements.
PEX crimp, clamp and expansion methods are distinct joining systems with appropriate tools and fittings. Do not mix them based only on the pipe diameter or a similar ring appearance. Follow the exact system instructions and required checks.
Compression and push-fit fittings also require suitable tube preparation, insertion and support. A convenient connection method does not eliminate sizing, material or service compatibility checks.
ACCESS AND A PRACTICAL WORKFLOW
Identify material and service, then choose the joining system and required pipe size. Plan the cut so enough sound material remains for insertion or threading. Confirm tool clearance around the pipe before starting.
Cut with the suitable tool, prepare the end, assemble using the prescribed method and inspect or test the joint as required. For a wheel cutter in a tight location, check that the tool can complete its rotation; for a press tool, check jaw access and engagement.
Use support so force is applied to the intended component. A pipe suspended from its neighboring fittings can place unwanted loads on the system during cutting, threading or tightening.
COMMON MISTAKES AND TROUBLESHOOTING
Common mistakes include toothed jaws on delicate finished fittings, the wrong cutter wheel, skipping deburring, mixing thread standards, using the wrong press jaw and judging insertion by appearance alone.
If a cut is distorted, check tool range, blade or wheel condition and work support. If a joint will not seat, inspect the end preparation and size rather than increasing force. If a threaded joint binds early, verify thread form and condition.
A leak can arise from preparation, component compatibility, assembly or damage. Tightening more is not the correct response to every leak. Follow the fitting system’s inspection and repair method, particularly on service lines with specific code and safety requirements.
PLANNING THE CUT, PREPARATION AND JOINT AS ONE PROCESS
Identify whether the workpiece is copper tube, steel pipe, plastic tubing or another material, then identify the joining system. Nominal pipe names and actual outside diameters are not always the same measurement. Select a cutter using the manufacturer’s range for that material and actual dimension, and check working clearance around the installed pipe.
Prepare a square end using the approved method. Remove internal and external burrs, chamfer or ream as required, and clean the joining surfaces. A cut that looks finished can still leave a burr that interferes with insertion, damages a seal or affects flow. End preparation requirements come from the joining system rather than from the cutter alone.
For press, crimp or expansion connections, confirm the exact fitting system and the tool, jaw, ring or head approved for it. Similar pipe diameters do not make different systems interchangeable. The fitting material, profile and installation procedure matter. Record or inspect insertion depth using the specified method before completing the joint.
Check the installation as required before returning it to service. A tool that completed a cycle does not automatically prove a sound joint if the wrong fitting, jaw or preparation was used. Follow pressure-testing, inspection and commissioning requirements appropriate to the installation and applicable rules.
CHOOSING GRIP TOOLS WITHOUT DAMAGING THE WORK
A pipe wrench’s toothed jaws are designed to grip certain round workpieces and may mark them. This can be acceptable in one application and unacceptable on a decorative or sealing surface. Identify the surface that is allowed to carry the grip force before selecting the tool. More gripping force is not always an improvement.
A strap wrench or suitable smooth-jaw tool can protect some finished surfaces, but still has material, size and torque limits. Keep the tool clean so trapped grit does not scratch the finish. Where the assembly manufacturer provides flats or a specified holding point, use those rather than gripping a thin-walled round part arbitrarily.
Support the mating component where the procedure requires a counterhold. Turning one connection can transmit force into neighboring joints or flexible tubing. Plan both tool positions and the reaction path, especially in cramped work. A longer handle can increase the load on the whole assembly, not only the nut being turned.
If a connection resists movement, identify the thread direction, sealing method and condition before increasing force. Corrosion, adhesives and plastic components require different handling. Avoid converting a controlled repair into damage to adjacent pipework; consult the assembly procedure where the correct method is uncertain.
VISUAL REFERENCE ATLAS
AT A GLANCE
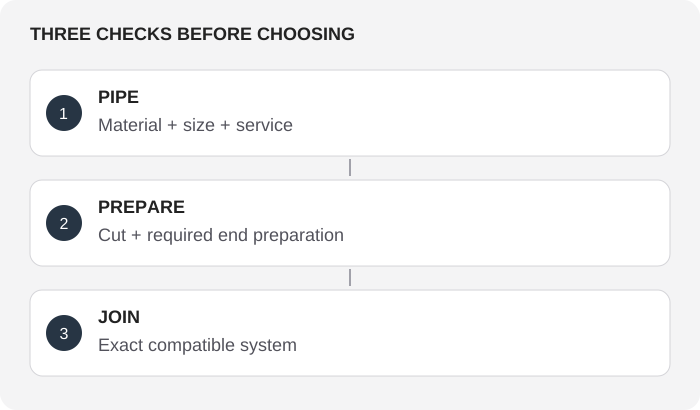
Illustrations explain the principle. They are not actual-size templates or precision fit drawings.
REFERENCES
General reference material. For an exact model, use its manufacturer’s specifications and instructions.
Pipe wrenchPipe thread